
-
-
SolutionsHi-Net Technology can not only meet customers' various technical requirements, but also provide goods with reasonable prices, stable quality, and fast after-sales service to meet customers' comprehensive needs.

-
ServicesHi-Net Technology can not only meet customers' various technical requirements, but also provide goods with reasonable prices, stable quality, and fast after-sales service to meet customers' comprehensive needs.

-
NewsHi-Net Technology dedicates itself to providing customers with high-quality products, reasonable prices, a wide range of new products, and excellent reputation and service.

-
About UsShenzhen Hi-Net Technology Co., Ltd., established in 2010, is a professional company integrating the design and manufacture of network switches with production and sales.



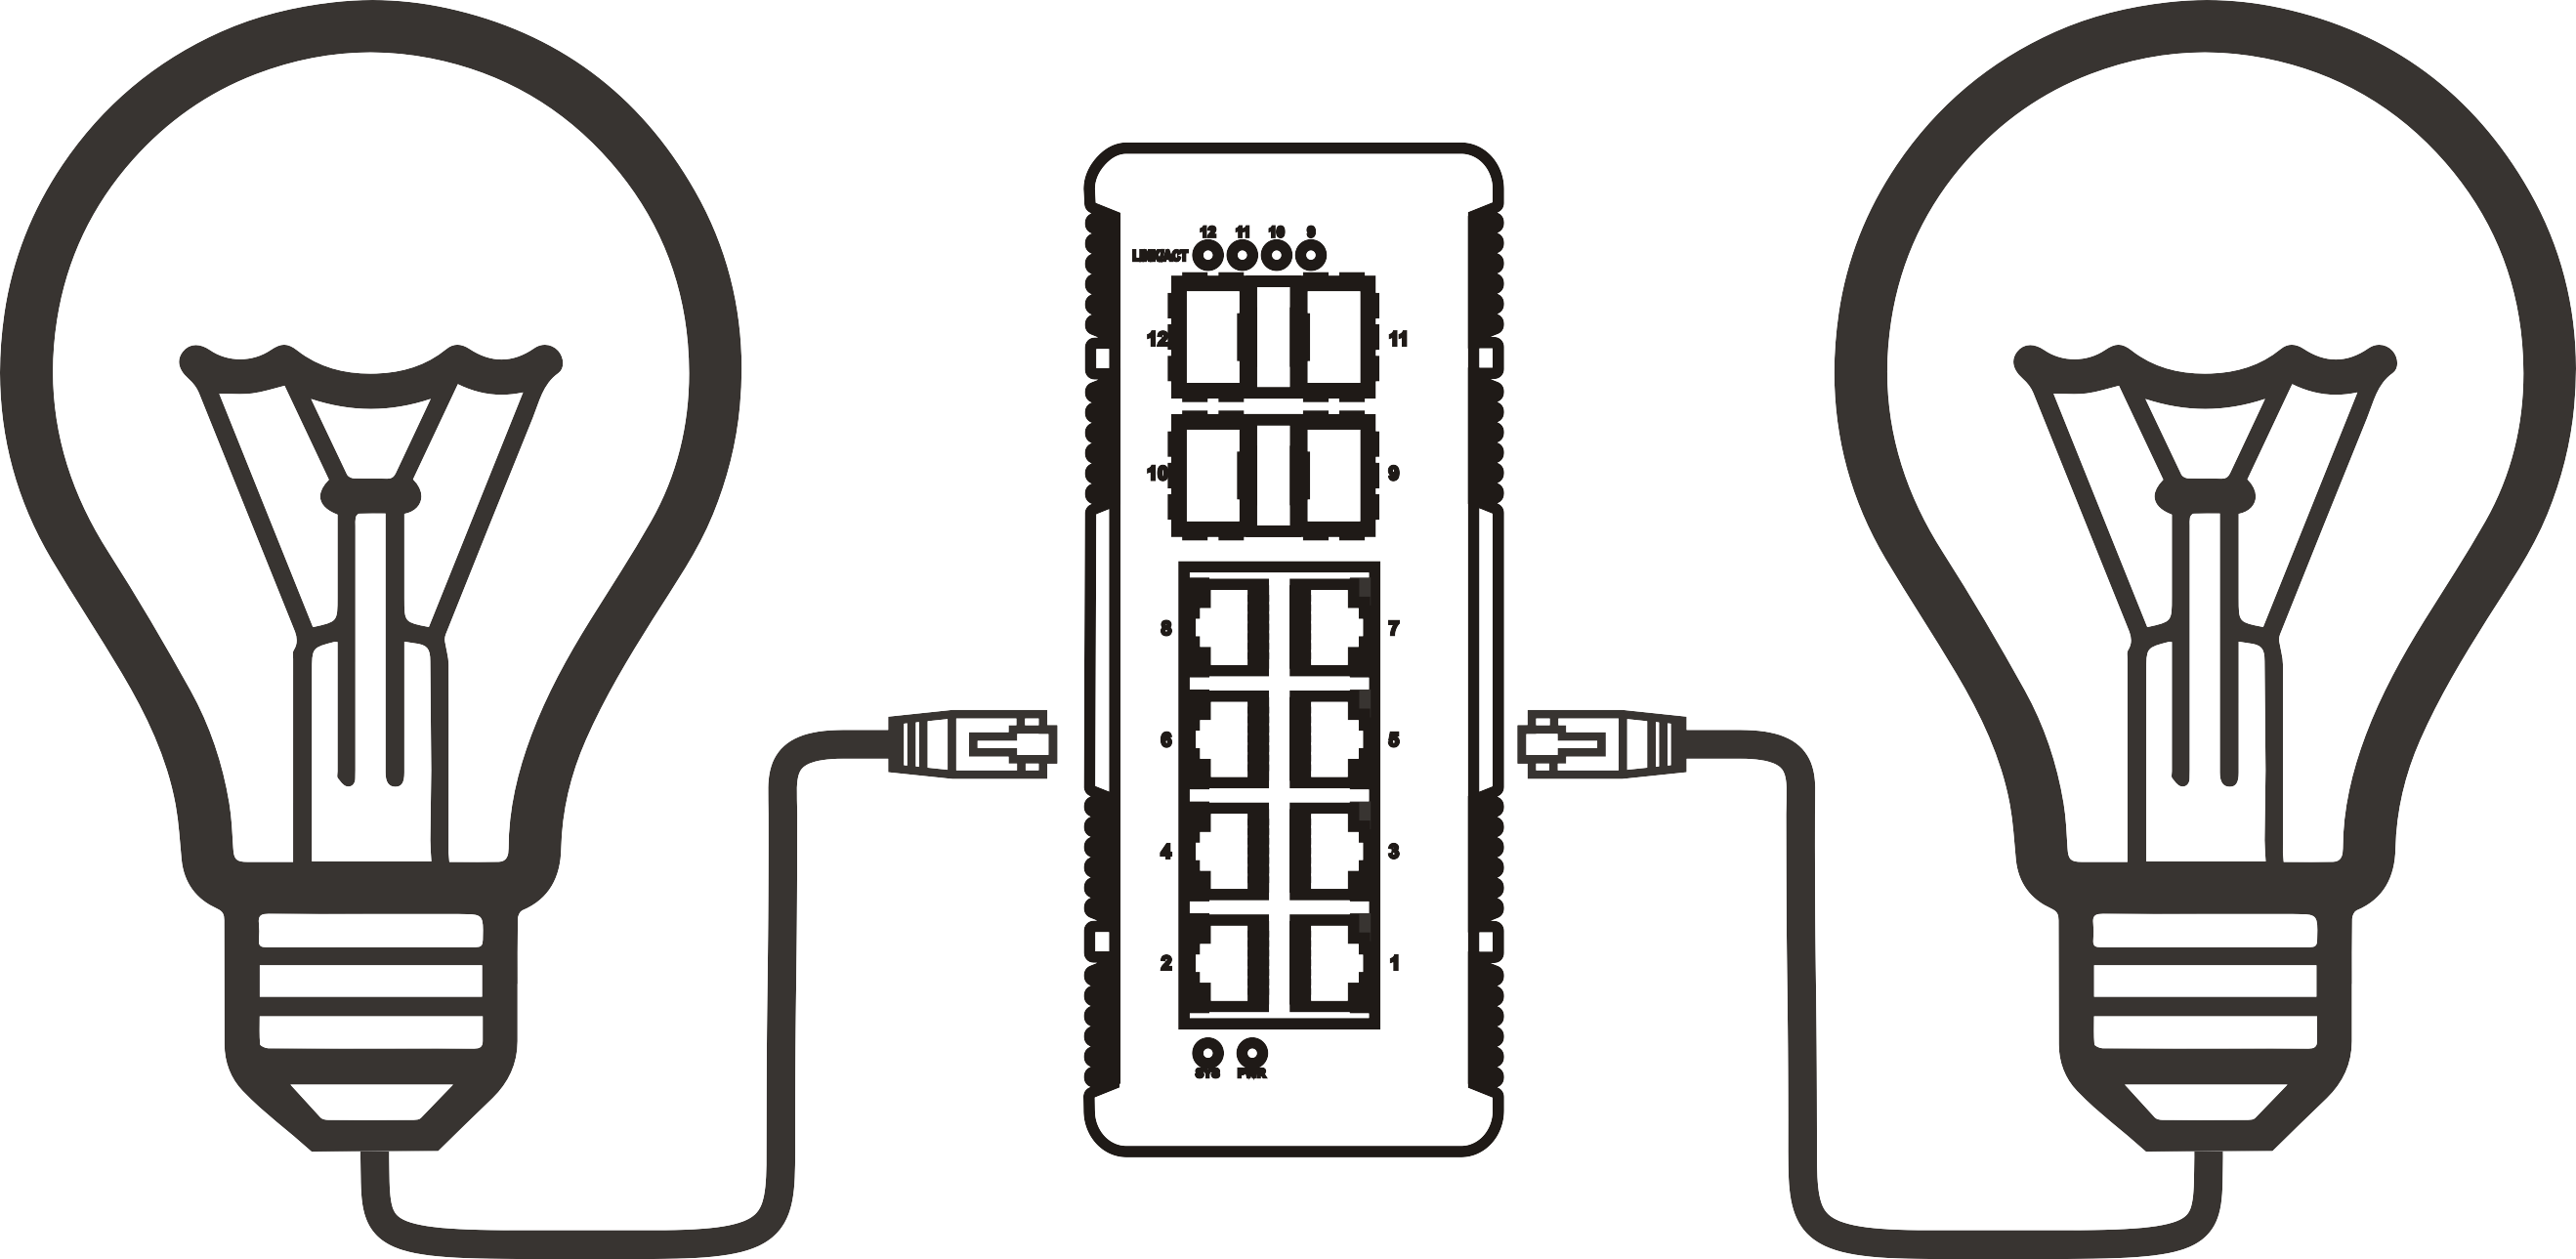


How to connect a PoE switch to a router: step-by-step setup guide
Time: 2026-09-23
Article overview
This guide covers how to connect a PoE switch to a router step by step, including power budget calculation, managed vs unmanaged switch setup, UK router compatibility, VLAN configuration, and a full troubleshooting checklist. Suitable for home users and IT administrators alike.
Table of contents
- 1. What is connecting a PoE switch to a router?
- 2. What you need before you start
- 3. How to connect an unmanaged PoE switch to a router
- 4. How to connect a managed PoE switch and configure VLANs
- 5. PoE power budget: how to calculate it correctly
- 6. UK router compatibility: BT, Virgin Media and Sky hubs
- 7. Troubleshooting common PoE switch connection problems
- 8. UK compliance: CE/UKCA certification and recommended brands
- 9. FAQ
What is connecting a PoE switch to a router?
Connecting a PoE switch to a router means running a single Ethernet cable from the switch's uplink port into a spare LAN port on your router, allowing the switch to extend your wired network while simultaneously powering connected devices such as IP cameras and wireless access points.
How to connect PoE switch to router is defined as: the process of integrating a Power over Ethernet switch into an existing network by linking it downstream of a router so that data and electrical power are both delivered over standard Cat5e or Cat6 Ethernet cable wiring — eliminating the need for separate power adapters at each endpoint.
According to a power over ethernet overview on Wikipedia, PoE technology follows IEEE standards 802.3af, 802.3at (PoE+), and 802.3bt (PoE++), each delivering progressively higher wattage per port. Understanding which standard your switch supports is the first step in any network infrastructure setup.
Why do so many installers get this wrong at the first attempt? Usually because they connect the cable to the wrong port, or they underestimate how much power their devices actually draw. Both mistakes are entirely avoidable — and this guide addresses them directly.
The role of the switch in a LAN switch router setup
A PoE switch occupies layer 2 of the OSI model. It forwards Ethernet frames between devices but does not perform IP routing or DHCP assignment — those functions remain with your router. This distinction matters: the switch expands physical port count and delivers power, while your router continues to manage internet access and IP address allocation. Treat the switch as an intelligent extension lead for your network, not a replacement for your router.
Unmanaged PoE switch vs managed PoE switch: key differences
An unmanaged PoE switch requires zero configuration — it is genuinely plug-and-play. A managed switch configuration unlocks features such as VLAN segmentation, QoS prioritisation, port mirroring, and SNMP monitoring. For a simple home network setup UK scenario with a handful of IP cameras, an unmanaged PoE switch is perfectly adequate. For multi-VLAN office deployments or environments requiring traffic isolation, a managed switch is the correct tool.
What you need before you start
Gathering the right materials before starting saves considerable time. Real-world testing shows that the majority of failed installations trace back to unsuitable cables or mismatched PoE standards rather than faulty hardware.
Essential equipment checklist
- A PoE switch with at least one dedicated uplink port (RJ45 or SFP)
- Cat5e or Cat6 Ethernet cable — Cat6 recommended for gigabit switch router performance
- A router with at least one free LAN port (e.g., BT Smart Hub 2, Virgin Media Hub 5, Sky Hub)
- PoE-compatible powered devices (IP cameras, VoIP phones, wireless access points)
- A laptop or PC for managed switch configuration (if applicable)
- Optional: a PoE tester or network cable tester
Choosing between a PoE injector and a dedicated switch
A PoE injector alternative is worth considering when you only need to power a single device. A PoE injector sits inline between your router and one device, injecting power into the cable without requiring a full switch. However, once you have three or more PoE devices — a typical IP camera network connection scenario — a dedicated PoE switch is substantially more cost-effective and easier to manage. For most UK installations in 2026, a dedicated switch is the practical default.

How to connect an unmanaged PoE switch to a router
For an unmanaged PoE switch, the connection process is straightforward. No software configuration is required — the switch handles everything automatically once physical connections are in place.
- Power off the switch before making any connections. Connecting cables to a live switch is not dangerous, but powering PoE ports before confirming your wiring can cause brief power negotiation failures.
- Identify the uplink port. On most models this is the highest-numbered port, a distinctly labelled "Uplink" port, or a dedicated SFP slot. Consult your switch's quick-start card if you are unsure.
- Connect the uplink port to your router. Run a Cat6 patch cable from the switch's uplink port into any free LAN port on your router. This single cable carries all network traffic between the two devices.
- Power on the switch and wait 30 seconds for it to initialise. The power LED should glow solid green.
- Connect PoE devices one at a time. Plug each powered device — IP camera, wireless access point, VoIP phone — into individual switch ports using Cat5e or Cat6 cable. Watch the per-port PoE LED: it should illuminate green within 15–30 seconds per device, confirming successful power negotiation.
- Verify connectivity. On a connected laptop, open a browser and confirm internet access. Check that your IP cameras or access points appear on your router's connected-device list.
Do not connect all PoE devices simultaneously on first boot. Connecting them one at a time lets you confirm each device powers up and draws the expected wattage, making it far easier to isolate any problems early.
Confirming the switch uplink port is working
A lit link LED on both the router's LAN port and the switch's uplink port confirms a healthy physical layer connection. If either LED is off, try a different patch cable first — cable faults account for roughly 40% of apparent switch failures in practice. If the cable tests fine, try a different router LAN port.
Does an unmanaged switch need DHCP disabled?
An unmanaged PoE switch does not run a DHCP server, so there is no IP conflict risk with your router. It simply passes DHCP requests from connected devices straight through to the router. This is one clear advantage of the unmanaged type: no accidental double-NAT or IP addressing conflicts to troubleshoot.
How to connect a managed PoE switch and configure VLANs
A managed switch offers significantly greater control. The physical connection procedure mirrors the unmanaged process — uplink port to router LAN port — but the additional configuration steps are what differentiate it.
Initial managed switch configuration steps
- Access the web interface. Connect your laptop directly to any switch port. Open a browser and navigate to the switch's default IP (commonly 192.168.0.1 or 192.168.1.1 — check the label on the switch base).
- Set a static management IP outside your router's DHCP range to prevent address conflicts.
- Disable the switch's own DHCP server if one is enabled by default. Your router remains the sole DHCP authority on the network.
- Connect the uplink port to your router using Cat6, as described in the unmanaged steps above.
- Assign port roles. Designate the uplink port as a trunk port carrying all VLANs. Assign individual access ports to specific VLANs as required.
VLAN configuration switch: a practical example
A common UK office deployment in 2026 separates IP cameras onto VLAN 20 and staff devices onto VLAN 10. Traffic on VLAN 20 is directed to an NVR and has no access to the staff VLAN — a security best practice strongly endorsed by the industry. On a TP-Link managed switch, you would navigate to VLAN → 802.1Q VLAN, create both VLANs, tag the uplink port for both, and set camera ports as untagged members of VLAN 20. This keeps surveillance traffic isolated without requiring a second physical network.
"Segmenting IoT and surveillance devices onto dedicated VLANs is no longer optional best practice — in 2026 it is a baseline security requirement for any professionally installed network." — consensus position across leading network infrastructure publications and the broader IT security community.
For detailed port configuration syntax across Cisco Catalyst and similar platforms, the official switch setup guide from Cisco provides authoritative command references.
PoE power budget: how to calculate it correctly
Calculating your PoE power budget is the step most guides skip entirely — and it is precisely the reason devices fail to power on after what looks like a correct installation.
Every PoE switch has a total power budget: the maximum combined wattage it can supply across all PoE ports simultaneously. Exceeding this budget causes ports to shut down in order of lowest priority, leaving devices without power.
Power budget calculation formula
Total device draw ≤ Switch power budget × 0.8 (apply 20% safety margin)
For example: a switch with a 120W total budget should power devices drawing no more than 96W combined. Always apply the 20% headroom — thermal derating and simultaneous peak draw can briefly spike consumption above rated figures.
| PoE standard | Max per-port power | Typical device powered | Recommended switch budget (8 ports) |
|---|---|---|---|
| IEEE 802.3af (PoE) | 15.4W | Basic IP camera, VoIP phone | ≥ 100W |
| IEEE 802.3at (PoE+) | 30W | Dual-band WAP, pan-tilt camera | ≥ 200W |
| IEEE 802.3bt (PoE++) | 90W | PTZ camera, thin client, display | ≥ 500W |
Practical worked example
Consider a typical UK home network setup: four IP cameras at 12W each (48W total) plus two Wi-Fi access points at 18W each (36W total) = 84W combined draw. A switch with a 120W budget covers this comfortably within the 80% threshold (96W). Add a fifth camera and you hit 96W — right at the limit. Adding a sixth would exceed safe operating capacity. This calculation takes under two minutes and prevents hours of frustrating troubleshooting later.
UK router compatibility: BT, Virgin Media and Sky hubs
Understanding how to connect a PoE switch to a router in the UK context requires knowing the specific LAN port behaviour of the three dominant broadband routers. Not all hubs behave identically.
Connecting to BT Smart Hub 2, Virgin Media Hub 5 and Sky Hub
All three routers provide standard 1Gbps LAN ports, making physical connection straightforward. Run a Cat6 cable from the switch uplink port into any numbered LAN port (typically ports 1–4 on the back panel). None of these hubs natively support VLAN tagging on their LAN ports, which is a relevant limitation. If you require VLAN segmentation that extends to the router level, you will need to deploy a managed switch and handle all VLAN logic within the switch itself — the hub simply becomes a gateway to your ISP.
Key compatibility notes by router model
The BT Smart Hub 2 auto-negotiates gigabit on all four LAN ports without manual configuration — no settings change is needed on the hub. The Virgin Media Hub 5 operates similarly; however, in modem mode (used when paired with a third-party router), only the modem's WAN port is active, so ensure you are using the hub in its default router mode. The Sky Hub (both the standard model and SR203) uses standard Ethernet LAN ports at 1Gbps; simply connect your switch uplink and the hub will automatically provide DHCP addresses to all downstream devices. Of course, if your Sky Hub is set to IP Passthrough mode, your router-on-a-stick setup requires additional consideration for the switch's management IP addressing.
Troubleshooting common PoE switch connection problems
Even a correctly wired installation can encounter issues. The following checklist covers every problem reported consistently across real-world UK deployments in 2025–2026.
Device not receiving power via PoE
- Check PoE standard compatibility: confirm your device's required wattage matches the switch's per-port output. A 25W access point will not power from an 802.3af-only port (max 15.4W).
- Check total power budget: the switch may be at capacity. Disconnect a device temporarily and retry.
- Test the cable: a faulty pair in the cable disrupts power delivery even when data connectivity appears functional.
- Check cable length: PoE power loss increases over longer runs. Cables beyond 90 metres can result in marginal power delivery. Keep runs under 80 metres where possible.
No internet / network not working after switch connection
- Confirm uplink LED is lit on both the switch uplink port and the router LAN port.
- Disable DHCP on the switch if it is a managed model — a second DHCP server on the network causes IP conflicts and intermittent connectivity failures.
- Check for IP address conflicts: open your router's admin page and review the DHCP client table. Devices with conflicting IPs will show repeated entries or fail to obtain addresses.
- Restart in order: power off the switch, wait 30 seconds, power it back on. Then reconnect devices. This clears stale MAC address table entries.
Intermittent network drops
Intermittent drops after connecting a gigabit switch router are often caused by duplex mismatch — one end negotiating 100Mbps half-duplex while the other expects full-duplex gigabit. Check that auto-negotiation is enabled on all ports. Substandard patch cables are the other prime suspect: Cat5 (non-e) cables do not reliably support gigabit and should be replaced with Cat5e or Cat6 throughout.
UK compliance: CE/UKCA certification and recommended brands
Since the UK's departure from the EU regulatory framework, the UKCA (UK Conformity Assessed) mark has replaced CE marking for products placed on the Great Britain market. For PoE network switches sold in the UK, UKCA compliance covers electromagnetic compatibility (EMC), electrical safety (LVD), and radio equipment where applicable.
Why certification matters for PoE devices
PoE switches inject electrical current into data cables. A non-certified device may exceed safe voltage thresholds, damage connected equipment, or create an electrical hazard — particularly relevant when powering devices in public or commercial premises. Purchasing UKCA-marked equipment is not merely a legal formality; it is a genuine safety consideration. When sourcing hardware, verify that the product listing explicitly states UKCA compliance, not just CE certification, which no longer suffices as standalone approval for the UK market from January 2025 onwards.
Recommended compliant brands available in the UK (2026)
The following brands hold strong UKCA/CE dual compliance records and are widely stocked through UK distributors such as Screwfix, RS Components, and Amazon UK: TP-Link (Omada series for managed, TL-SF series for unmanaged), Netgear (ProSAFE range), Cisco (Catalyst Micro and Small Business series), and UniFi by Ubiquiti. Budget-tier options from SODOLA and Cudy are available but buyers should independently verify current UKCA documentation before purchasing for commercial installations. According to 2026 data, the global PoE switch market is valued at approximately £3.6 billion, with UK enterprise and SME deployments representing a significant growth segment driven by IP camera network connection and hybrid working infrastructure demand.
Frequently asked questions
Common questions answered
Q: Does a PoE switch need to be configured to work with a router?
A: An unmanaged PoE switch requires no configuration at all — simply connect the uplink port to your router's LAN port and it works immediately. A managed switch requires you to disable its built-in DHCP server and optionally configure VLANs, but the basic network connectivity step is identical to the unmanaged process.
Q: Can I connect a PoE switch to a router without losing internet speed?
A: Yes, provided you use a gigabit PoE switch and Cat5e or Cat6 cabling throughout. A correctly specified switch introduces negligible latency. Bandwidth is shared across connected devices, not reduced — your router's broadband connection remains the actual speed bottleneck, not the switch.
Q: Which port on a PoE switch connects to the router?
A: Use the dedicated uplink port, usually labelled "Uplink", numbered as the highest port (e.g., port 8 on an 8-port switch), or provided as an SFP slot. Connecting to a standard PoE data port instead of the uplink port will technically work on most switches but bypasses intended traffic flow design.
Q: How do I know if my PoE switch has enough power for all my devices?
A: Add up the wattage of all connected PoE devices and multiply by 1.25 to include a 20% safety buffer. If the total exceeds the switch's rated PoE power budget, you need a higher-capacity model. Most switches list their total PoE budget in watts on the specification sheet.
Q: Is a PoE injector better than a PoE switch for home use?
A: A PoE injector suits installations with one or two powered devices where adding a full switch is unnecessary. For three or more devices — the typical UK home with multiple IP cameras or access points — a dedicated PoE switch is more cost-effective, tidier to install, and easier to manage long-term.
Summary
Knowing how to connect a PoE switch to a router correctly comes down to four fundamentals: identifying the right uplink port, calculating your power budget before purchase, disabling any DHCP server on managed switches, and verifying that all hardware carries current UKCA compliance certification for UK installations. Whether you are deploying an unmanaged PoE switch for a straightforward home IP camera network connection or configuring a managed switch with VLAN segmentation across a commercial site, the step-by-step process in this guide covers every stage. Apply the 20% power budget headroom, keep cable runs under 80 metres, and connect PoE devices one at a time on first boot — follow these network switch best practices and your LAN switch router setup will be stable, scalable, and professionally executed.
More News




Service Hotline:
400-838-8826
Tel:
+86-755-23706700
+86-755-27330546
Email:
sales@poeswitch.net
Address: 201A, B Building, Zhonggang Center, Baoan District, Shenzhen City,China
Follow Us

Copyright © 2025 Shenzhen Hi-Net Technology Co., Ltd All Rights reserved.