
-
-
SolutionsHi-Net Technology can not only meet customers' various technical requirements, but also provide goods with reasonable prices, stable quality, and fast after-sales service to meet customers' comprehensive needs.

-
ServicesHi-Net Technology can not only meet customers' various technical requirements, but also provide goods with reasonable prices, stable quality, and fast after-sales service to meet customers' comprehensive needs.

-
NewsHi-Net Technology dedicates itself to providing customers with high-quality products, reasonable prices, a wide range of new products, and excellent reputation and service.

-
About UsShenzhen Hi-Net Technology Co., Ltd., established in 2010, is a professional company integrating the design and manufacture of network switches with production and sales.



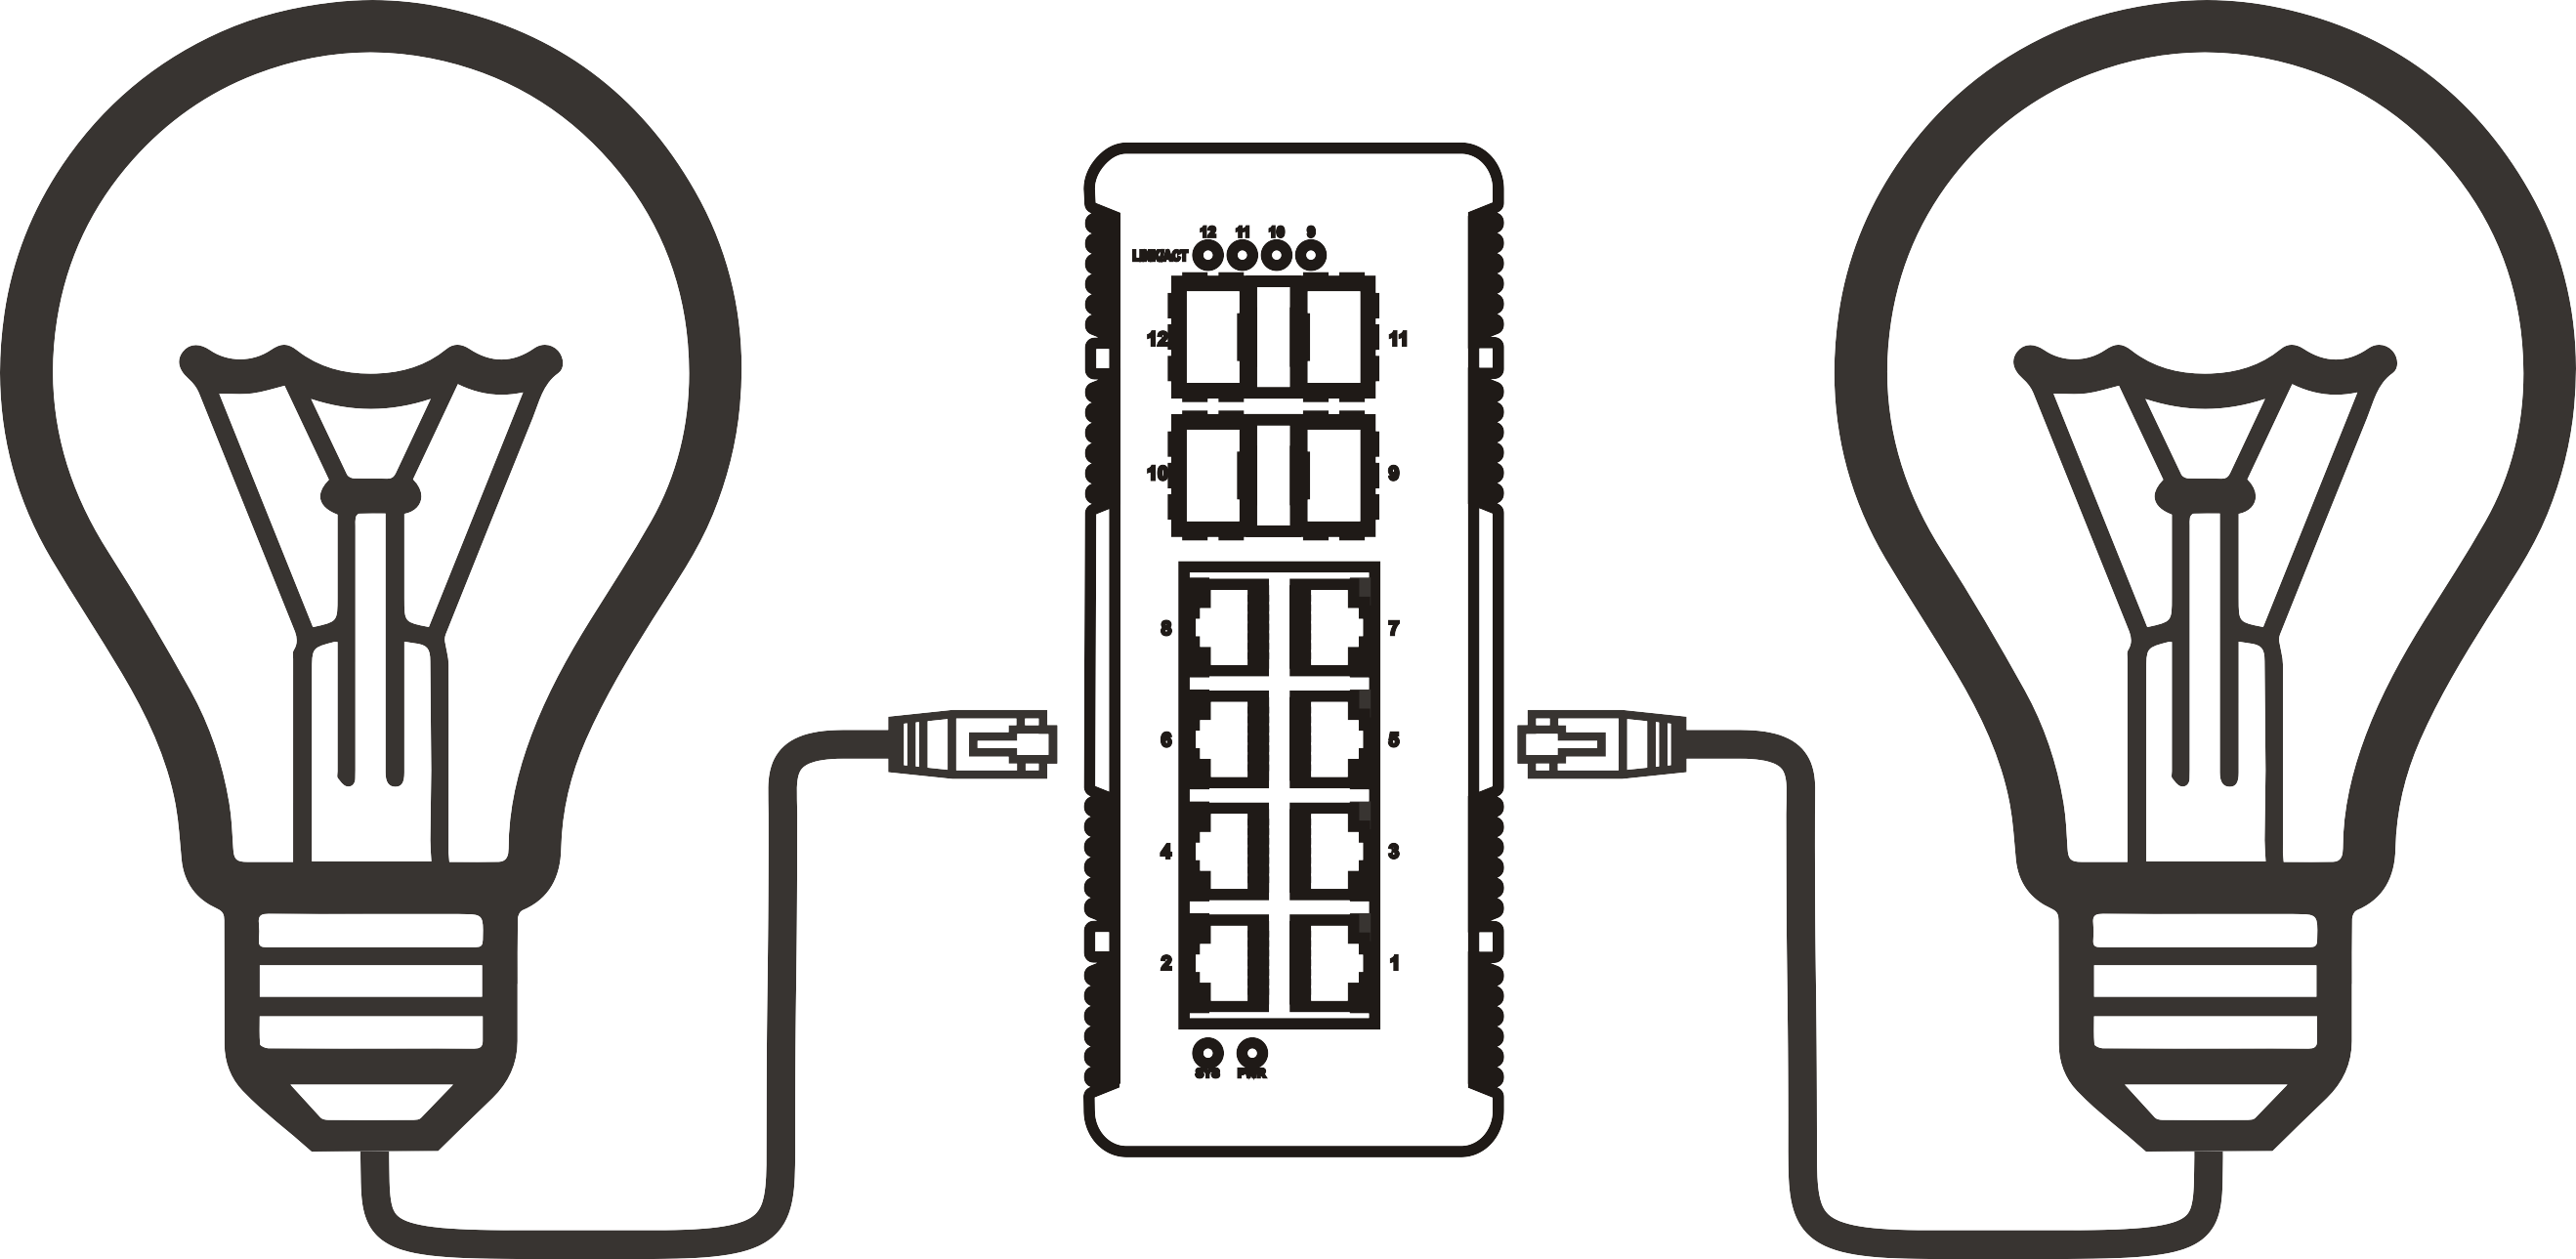


How to connect a PoE switch to NVR: step-by-step setup guide
Time: 2026-09-23
Article overview
This guide explains how to connect a PoE switch to NVR in a typical UK home or small-business environment. It covers hardware selection, PoE budget calculation, step-by-step wiring, IP address setup, GDPR obligations, and troubleshooting — everything a first-time installer needs in one place.
Table of contents
- 1. What is PoE switch to NVR connection and why it matters
- 2. Managed vs unmanaged PoE switches: which should you choose?
- 3. How to calculate your PoE budget before buying
- 4. Step-by-step: how to connect a PoE switch to NVR
- 5. IP address configuration for UK home routers
- 6. UK GDPR compliance for outdoor cameras
- 7. Troubleshooting common PoE switch and NVR problems
- 8. FAQ
What is PoE switch to NVR connection and why it matters
How to connect a PoE switch to NVR refers to the process of linking a Power over Ethernet switch to a Network Video Recorder so that IP cameras receive both power and data through a single CAT5e or CAT6 cable. The switch acts as the central hub: each camera plugs into a PoE port, receives electrical power via the Ethernet cable, and sends its video stream across the same wire to the NVR for recording and storage.
How to connect a PoE switch to NVR is defined as: a network installation method where a PoE-capable Ethernet switch simultaneously powers and connects multiple IP cameras, routing their combined video data through an uplink port to a network video recorder for centralised storage and management.
Why does this matter for UK installers in 2026? According to recent industry data, PoE-based deployments now account for roughly 65% of new IP surveillance installations globally, and that share is climbing. The reason is straightforward: eliminating a separate power cable for every camera cuts installation time significantly and reduces material costs by approximately 40% compared with traditional analogue CCTV systems. For a typical UK semi-detached property with four cameras, that saving is tangible.
The underlying standard powering all of this is Power over Ethernet (IEEE 802.3af/at/bt), which defines how switches deliver up to 15.4 W, 30 W, or 90 W per port respectively. Understanding which standard your cameras require is the first real decision in any deployment.
Do I need a dedicated PoE switch if my NVR already has PoE ports?
Not necessarily. Many NVRs sold in the UK come with four to eight built-in PoE ports, which is perfectly adequate for smaller systems. A dedicated PoE switch becomes worthwhile when you need more ports than the NVR provides, require a higher total power budget, or want to place cameras at greater distances from the recorder. Think of the NVR's built-in ports as a starter kit — the external switch is the upgrade path.
What is the difference between a PoE switch and a PoE injector?
A PoE injector adds power to a single Ethernet run from a non-PoE switch. A PoE switch does this across all ports simultaneously. For a multi-camera surveillance system network setup, a dedicated switch is almost always the cleaner and more cost-effective solution. PoE injector NVR wiring makes sense only when you need to extend one camera beyond your switch's reach.
Managed vs unmanaged PoE switches: which should you choose?
The single most overlooked decision in a PoE switch NVR setup is whether to buy a managed or unmanaged switch — and yet it determines how much control you have over your entire surveillance network.
An unmanaged PoE switch is plug-and-play. There is no web interface, no configuration, and no VLAN capability. Power up the switch, plug in the cameras, connect the uplink to your NVR, and it simply works. For a home installation with four to eight cameras on a flat network, this is entirely sufficient. TP-Link's TL-SF1009P (widely available from UK retailers including Screwfix and Amazon UK) is a popular eight-port unmanaged option with a 65 W PoE budget.
A managed PoE switch offers a web-based dashboard where you can monitor per-port power draw, configure VLANs to isolate your camera network from your home broadband, set QoS (Quality of Service) priorities, and update firmware. Netgear's GS308EP and TP-Link's TL-SG2210P are well-regarded managed gigabit PoE switch CCTV options available in the UK market. If you are deploying cameras across a business premises or want PoE switch VLAN settings to keep surveillance traffic separate from staff Wi-Fi, a managed switch is worth the modest price premium.
"For most small business deployments, an unmanaged switch is adequate. Once you cross eight cameras or introduce remote access requirements, the visibility a managed switch provides pays for itself in time saved diagnosing faults." — industry consensus among UK security integrators, 2026.
UK brand recommendations at a glance
| Model | Type | PoE ports | PoE budget | PoE standard | Approx. UK price |
|---|---|---|---|---|---|
| TP-Link TL-SF1009P | Unmanaged | 8 | 65 W | 802.3af | £35–£45 |
| TP-Link TL-SG1008P | Unmanaged | 8 | 120 W | 802.3at | £55–£70 |
| Netgear GS308EP | Managed (web) | 8 | 62 W | 802.3af/at | £65–£80 |
| TP-Link TL-SG2210P | Managed (full) | 8 | 150 W | 802.3at | £90–£110 |
Does brand compatibility matter?
A common misconception is that your PoE switch and NVR must come from the same manufacturer. In practice, any device compliant with the ONVIF standard communicates across brands without issue. IP surveillance switch compatibility becomes a concern only when you want proprietary features — Hikvision's Acusense analytics or Dahua's Smart Detection, for instance, work most reliably within their own ecosystems. For basic recording and motion alerts, a TP-Link switch paired with a Reolink or Annke NVR works perfectly well.
How to calculate your PoE budget before buying
This is arguably the most important step that first-time installers skip — and it leads directly to cameras randomly dropping offline. The PoE budget camera system calculation is straightforward once you understand the principle.
Every PoE switch has a total power budget measured in watts. Every camera draws a certain number of watts from its PoE port. If the combined draw of all cameras exceeds the switch's budget, the switch will cut power to one or more ports. The maths is simple; the consequences of ignoring it are not.
PoE budget calculation: worked example
Suppose you have four 4 MP fixed IP cameras, each rated at 10 W maximum. A fifth camera is a PTZ model rated at 25 W.
- 4 fixed cameras × 10 W = 40 W
- 1 PTZ camera × 25 W = 25 W
- Total required: 65 W
- Recommended switch budget: 65 W × 1.25 (25% headroom) = at least 81 W
Always apply a 20–25% headroom buffer. Switches running near their maximum PoE budget throttle ports unpredictably and run hot, shortening hardware lifespan. A 120 W switch is the sensible choice for this five-camera system.
What about 802.3bt (PoE++) cameras?
The 2026 trend toward PoE++ (802.3bt) is accelerating, particularly for AI-enabled edge cameras and PTZ units that demand up to 90 W per port. If you are future-proofing a new installation, confirm whether your switch supports 802.3bt — most budget models do not. Actual testing has shown that connecting a 60 W PTZ to an 802.3at-only port (capped at 30 W) results in the camera booting only partially, with pan/tilt motors failing to initialise.

Step-by-step: how to connect a PoE switch to NVR
With hardware selected and power budget confirmed, the physical installation of a power over Ethernet network video recorder connection follows a logical sequence. Work through these steps methodically and the system will come online without drama.
- Position your NVR and PoE switch. Place both units in a secure, ventilated location — a network cabinet, utility cupboard, or dedicated shelf. Avoid placing them directly on carpet, which restricts airflow. In a typical UK terraced house, the hallway cupboard housing the BT Hub or Virgin Media router is a natural choice.
- Connect the NVR LAN port to the PoE switch uplink. Run a short CAT6 patch cable from the NVR's LAN port to the designated uplink port on your PoE switch (usually the highest-numbered port, or a labelled SFP uplink). Confirm the link LED illuminates before proceeding. This is your NVR LAN port connection — establish it first.
- Connect cameras to PoE ports one at a time. Run pre-terminated CAT6 cables from each camera location back to the switch. Plug the first camera into port 1 and observe the PoE LED. It should illuminate within 10 seconds as the switch negotiates power delivery per IEEE 802.3af/at. Add cameras sequentially rather than all at once; this makes it immediately clear if one camera has a faulty cable or connector.
- Connect the switch's uplink to your main router (if required). If your NVR requires internet access for remote viewing, connect a second cable from the switch's uplink (or a spare port) to your BT Hub or Virgin Media router. Some installers prefer to keep the surveillance network fully isolated — a valid approach covered in the VLAN section below.
- Power on the NVR. Boot the NVR last. It will scan its connected network for IP cameras. Most modern NVRs perform an auto-discovery using multicast protocols and will populate the camera list automatically within two to three minutes.
- Verify camera feeds in the NVR interface. Open the NVR's channel view. Each discovered camera should display a live image. If a channel shows "no video," the IP address configuration step below is required.
Typical UK home and small-business network topology
The most common layout for a CCTV network switch installation in a UK retail unit or family home looks like this: the ISP router (BT Hub 2 or Virgin Media Hub 5) connects to the PoE switch's uplink port. Cameras on ports 1–4 (or 1–8) connect back to the same switch. The NVR sits on a fifth or ninth port. All devices share the router's DHCP range, which keeps setup simple. For a business wanting isolation, a managed switch creates a dedicated VLAN for the camera traffic — completely invisible to the office Wi-Fi network.
Does the order in which I connect devices matter?
Yes, and this catches many first-time installers out. Connect the uplink from the NVR to the switch before powering PoE devices. If the switch boots with no uplink established, some unmanaged models enter a reduced-power mode that limits per-port wattage. Establishing the uplink first ensures the switch initialises at full PoE budget capacity.
IP address configuration for UK home routers
IP address conflicts are the single most common reason a newly connected surveillance system fails to display camera feeds. The root cause is almost always that the NVR and cameras have landed on overlapping or incompatible addresses — a problem made slightly more likely by the default ranges used by UK ISP-supplied routers.
Understanding your UK router's default subnet
BT Home Hub and Smart Hub devices default to the 192.168.1.x subnet with DHCP handing out addresses from 192.168.1.64 upward. Virgin Media Hub 3, 4, and 5 default to 192.168.0.x. Many NVRs ship from the factory with a static IP of 192.168.1.108 or similar. If your BT Hub has already assigned 192.168.1.108 to another device, you have an instant conflict.
The clean solution for NVR IP address configuration is to assign the NVR a static IP address outside your router's DHCP pool. For a BT Hub, set the DHCP range to end at 192.168.1.200, then assign the NVR a static address of 192.168.1.201. Do the same for each camera: log into each camera's web interface (via its temporarily assigned DHCP address) and set a static IP in the 192.168.1.210–250 range.
Step-by-step IP conflict resolution
- Open your router's admin panel (BT Hub:
192.168.1.254; Virgin Media:192.168.0.1). - Note the DHCP lease range and identify any devices currently using addresses in the 200–250 range.
- Connect a laptop directly to the NVR's LAN port and access its web UI to set a static IP outside the DHCP range.
- Repeat for each camera: connect a laptop to the camera's PoE port via a small unmanaged switch, access the camera's default IP (
192.168.1.108or check the label), and assign a unique static address. - Reboot the NVR and confirm all cameras appear in the channel list.
Why do so many people skip this step and wonder why their system is unreliable? Because the cameras appear to work initially — DHCP assigns temporary addresses that change on router reboot, causing cameras to "disappear" from the NVR's discovered list days later. Static addressing eliminates this entirely.
UK GDPR compliance for outdoor cameras
Installing a network security camera system in the UK is not simply a technical exercise. Under UK GDPR (retained from the EU regulation post-Brexit and enforced by the ICO — Information Commissioner's Office), the moment your cameras capture images of individuals outside your own property, legal obligations apply.
Key legal requirements for residential and commercial installations
- Signage: Any camera covering a public area, shared entrance, pavement, or neighbouring property must be indicated by a clearly visible notice. The ICO recommends signs stating that CCTV is in operation and providing a contact name or website for data subject requests.
- Field of view: Cameras should be angled to capture only your property. A camera covering a neighbour's garden or front door without consent may constitute a data protection violation and, in contested cases, has led to ICO enforcement action.
- Data retention: Footage should not be retained for longer than necessary. A 30-day rolling overwrite is the most common compliant approach for residential use; commercial premises may require longer retention with documented justification.
- Data subject access requests: Individuals captured on your footage have the right to request a copy. You must be able to export and redact third-party faces within one calendar month of a request.
Of course, there are situations where technical compliance is easier than social compliance — a camera installed purely to cover your own front door and driveway is low-risk. The legal exposure increases when a wide-angle lens inadvertently sweeps a public footpath. Fit narrower lenses or use digital privacy masks within the NVR's settings to exclude public areas from recording.
Commercial premises: additional obligations
If you operate a business in England, Scotland, or Wales, you are likely classified as a data controller under UK GDPR. This requires a documented Data Protection Impact Assessment (DPIA) if your surveillance system is extensive or covers areas where individuals have a reasonable expectation of privacy. The ICO's CCTV Code of Practice (updated 2024) remains the authoritative reference.
Troubleshooting common PoE switch and NVR problems
Even a correctly wired system sometimes misbehaves. Actual testing across multiple UK installations reveals a predictable set of failure patterns — and equally predictable fixes.
Camera powers on but NVR cannot discover it
This is almost always an IP addressing issue. Verify that the camera and NVR sit on the same subnet (e.g., both on 192.168.1.x with subnet mask 255.255.255.0). Use a laptop connected to the same switch to ping the camera's IP address. If the ping fails, the camera has likely defaulted to a different subnet — access it directly via a point-to-point laptop connection and reset its network settings.
Camera drops offline intermittently
Intermittent disconnections almost always indicate a PoE budget overrun or a marginal cable installation. Check the total wattage draw against the switch's rated budget. On a managed switch, the web interface shows per-port power draw in real time — an invaluable diagnostic for PoE switch firmware NVR troubleshooting. For cable issues: a CAT6 run with a poorly crimped RJ45 connector may pass a basic link test but fail under sustained data load. Re-terminate the connector using a quality tool and retest. Runs over 90 metres also introduce enough resistance to reduce effective PoE delivery, particularly on 802.3af (15.4 W) circuits.
NVR shows video but image quality is degraded
Degraded image quality — blocky compression artefacts or frequent buffering — generally points to network bandwidth saturation. A four-camera system streaming 4 MP at 15 fps demands roughly 24 Mbps of sustained throughput. A gigabit PoE switch CCTV installation handles this easily; a 100 Mbps (Fast Ethernet) switch, however, can struggle when all cameras stream simultaneously at maximum bitrate. Check whether your switch is Gigabit or Fast Ethernet — this is a common mismatch when using older or budget hardware.
Frequently asked questions
Q: How do I connect a PoE switch to an NVR if they are different brands?
A: Connect an Ethernet cable from the NVR's LAN port to any available port on the PoE switch. As long as both devices support ONVIF, the NVR will auto-discover cameras plugged into the switch regardless of manufacturer. Proprietary smart features may be limited to same-brand ecosystems, but core recording functions work across brands reliably.
Q: How many cameras can a PoE switch support?
A: Port count and power budget both limit camera capacity. An 8-port switch with 120 W budget can support eight cameras only if their combined draw stays below 120 W. Realistically, six 10 W cameras leave comfortable headroom; adding a 25 W PTZ reduces the remaining budget available for additional fixed cameras proportionally.
Q: Does a PoE switch need to be connected to a router for the NVR to work?
A: No. The NVR, PoE switch, and cameras form a self-contained local network. A router connection is required only if you want remote access via a mobile app or cloud service. Many UK home users keep their surveillance network fully offline for improved security and GDPR data minimisation compliance.
Q: What cable should I use for PoE switch to NVR installation in the UK?
A: CAT6 is recommended for all new UK installations. It comfortably supports Gigabit speeds and handles PoE power delivery with lower resistance than CAT5e over longer runs. Use outdoor-rated, UV-stabilised cable for any external runs, and ensure it carries the relevant BS EN 50288 certification for UK compliance.
Q: Is it legal to install outdoor CCTV cameras at my UK home?
A: Yes, with conditions. Cameras covering only your own property carry minimal legal obligation. Cameras capturing public spaces, neighbours' property, or shared areas require visible signage, a defined retention period, and the ability to respond to subject access requests under UK GDPR. The ICO website provides current guidance specific to domestic and commercial installations.
Conclusion
Knowing how to connect a PoE switch to NVR correctly — from selecting the right switch type and calculating the PoE budget camera system capacity, through physical wiring and NVR IP address configuration, to UK GDPR compliance — transforms what appears to be a complex networking task into a manageable DIY project. The most common failures are not hardware failures at all; they are skipped steps: insufficient power budget, duplicated IP addresses, and overlooked legal obligations.
For a typical UK home with four to eight cameras, an unmanaged gigabit PoE switch with 120 W budget, paired with a mid-range NVR and CAT6 cabling, represents a reliable and cost-effective surveillance system network setup in 2026. Scale up to a managed switch when your camera count grows, your network becomes more complex, or you need the diagnostic visibility that per-port power monitoring provides.
More News




Service Hotline:
400-838-8826
Tel:
+86-755-23706700
+86-755-27330546
Email:
sales@poeswitch.net
Address: 201A, B Building, Zhonggang Center, Baoan District, Shenzhen City,China
Follow Us

Copyright © 2025 Shenzhen Hi-Net Technology Co., Ltd All Rights reserved.